How To Import Photos Into Lightroom
Want to learn how to import photos into Lightroom?
There is a video tutorial at the end of this blog
The first things you’ll need to do is know where your photos are located on your hard drive
Once you know where your photos are located it will be much easier to find them inside Lightroom
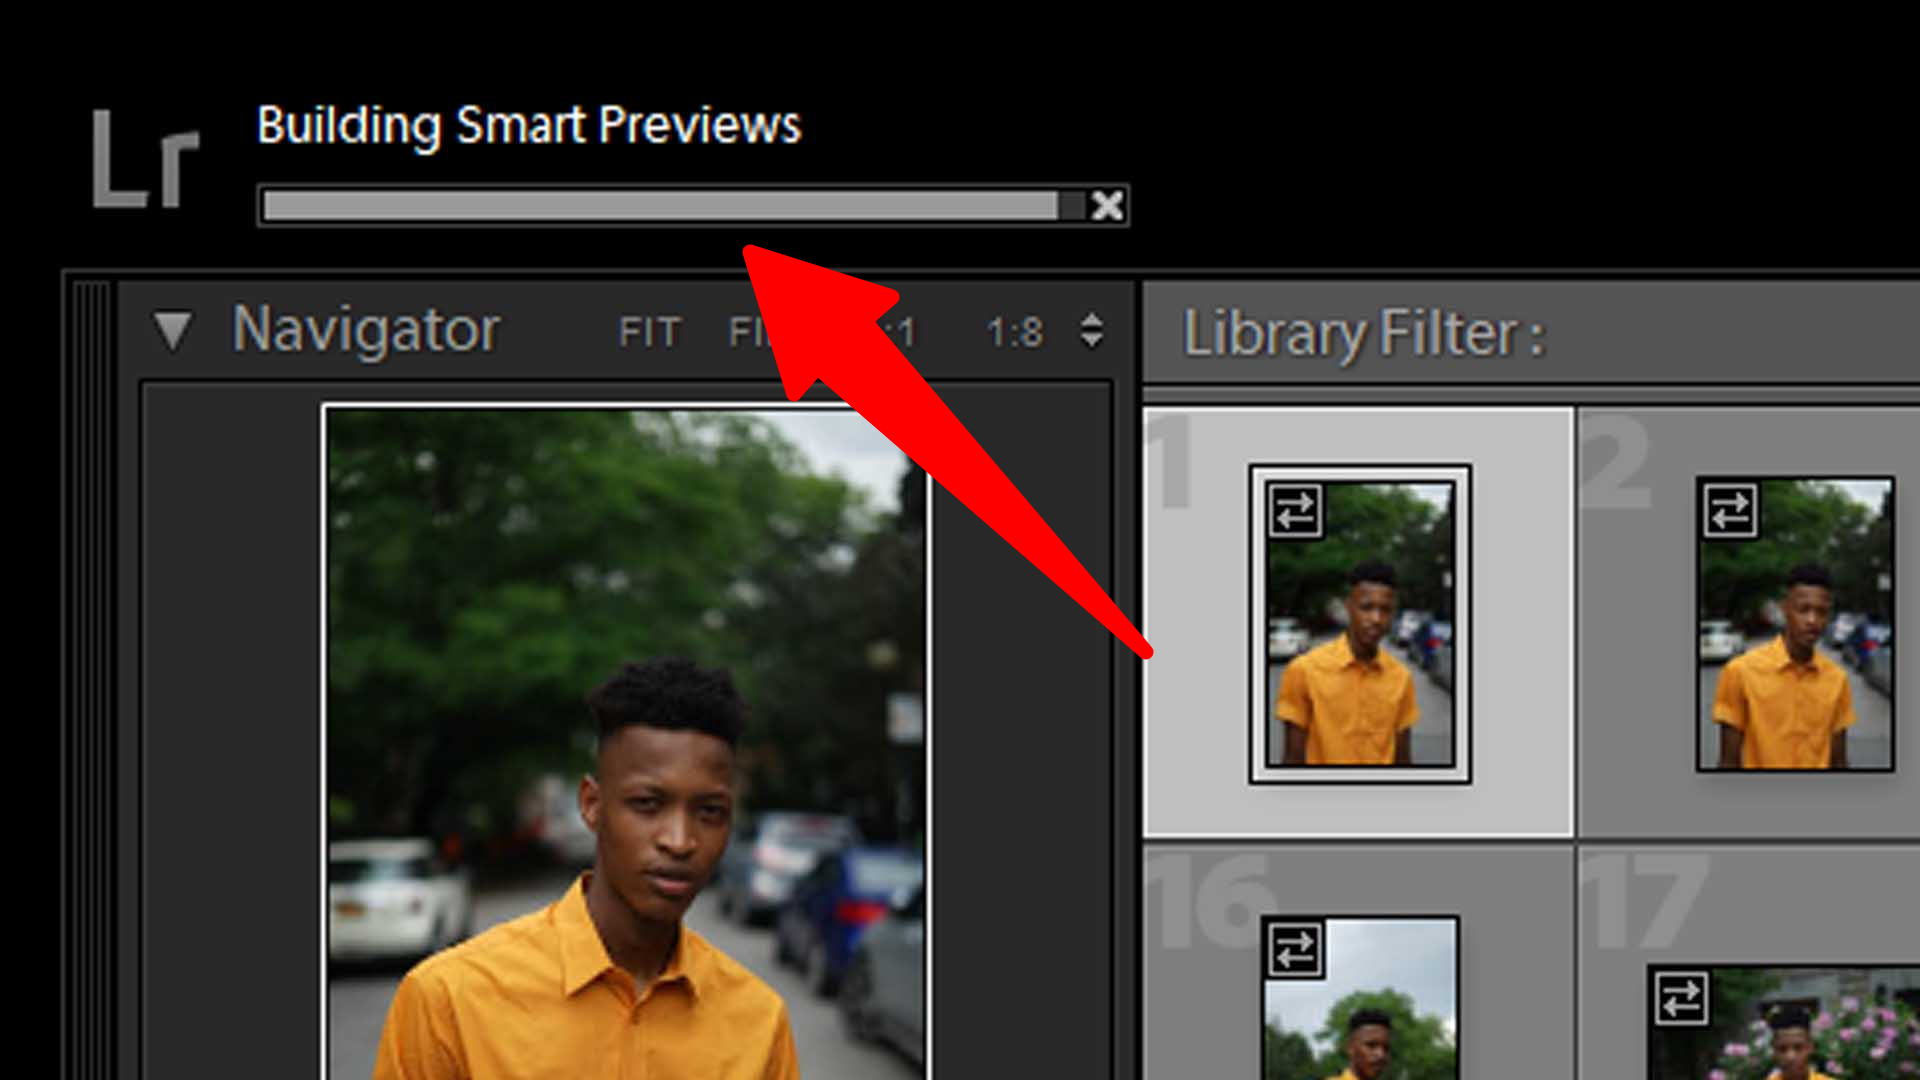
Second thing you’ll need to do is find the photos inside lightroom
You can doo this by clicking on the “Library” module at the top right hand corner of Lightroom
If you cannot see this module click the arrow that faces down at the top middle part of Lightroom
Once this is complete click the Import button on the bottom left hand corner of Lightroom
Here Lightroom will ask where you photos are located
This is where you will refer to the first part of this blog where I tell you to locate where you photos are
It is best to not import them from your camera or SD card and first save them onto a location on your hard drive
After you have found them you’ll want to choose whether you import them with previews
What’s a preview?
A previes is a low resolution version of the RAW file
If you do not shoot RAw don’t worry about this
But if you shoot RAW, use the preview selection at the top right hand corner to create a low resolution version of the RAW file
This will usually save onto your Lightroom catalog as a backup incase you ever lose the actual file
There are multiple way to save as a preview
A “minimal” preview is the lowest resolution .JPG backup file Lightroom will make
A “Embedded & Sidecar” preview is basically a backup of the .JPG that your camera creates when you preview the photo on the back of your camera after you take the photo
A “Standard” preview is basically a backup with a standard resolution preview (probably the best for quick backups that are not big but not too small)
And lastly a “1:1” preview which is basically a 1:1 pixel ratio preview. What’s that? It means that the JPG will have the same amount of pixels as the raw file. If you do not care about how much storage your photos takeup definitely use this option
And lastly you click “add to collection”
Once you’ve done this you will name the coloection the name of what you will remember the shoot as for eaasy access
I name mine after the model or business I took photos of
This makes it easy to find later in the “collections” section on the left hand pannel of Lightroom
Okay want to watch a video version of this to make it easier?
Here you go: